Spectrum Analyzers are useful electronic devices that are currently being used in multiple industries. With a spectrum analyzer, you can watch how signal amplitude varies by signal frequency. These devices are used in the music industry for music production. They can replace the music producer’s ears and provide better insight into the acoustics and quality of a song. Whatever you intend to do with a spectrum analyzer, one fact remains and it is the issue of purchasing a spectrum analyzer due to its cost.
Do not be afraid or discouraged by the cost of a spectrum analyzer for you can now develop your own analyzer using the materials in this kit and the steps outlined here. With these ten steps, you will have your own spectrum analyzer functioning perfectly in a few hours.
The Spectrum Analyzer Kit
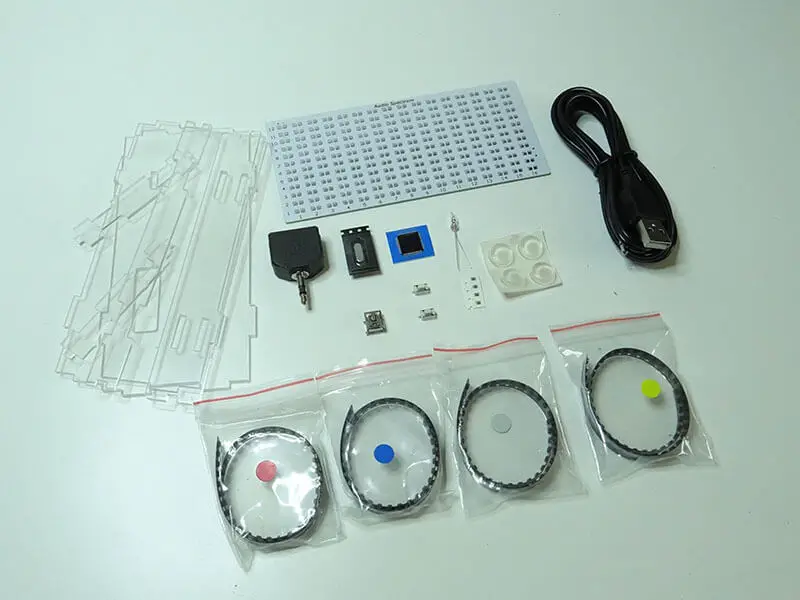
In this DIY kit, you will be provided with all the components you need to start your project. These tools include:
- The PVB
- 200 LEDs – 4 Colors
- Tilt/Movement sensor
- A USB Socket
- Two Buttons
- Microcontroller
- The acrylic case
You can view the image below to see the different components that will be used in building your spectrum analyzer.
The 9 DIY Steps for Developing a Spectrum Analyzer
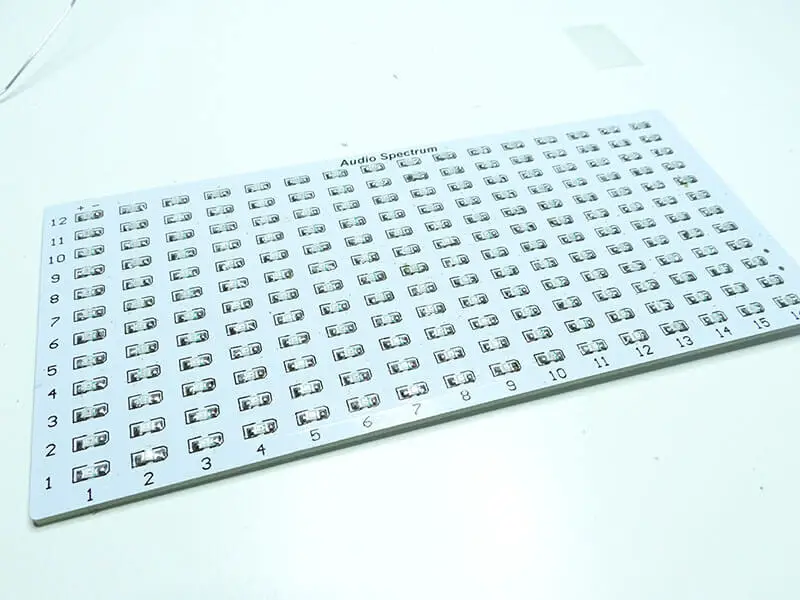
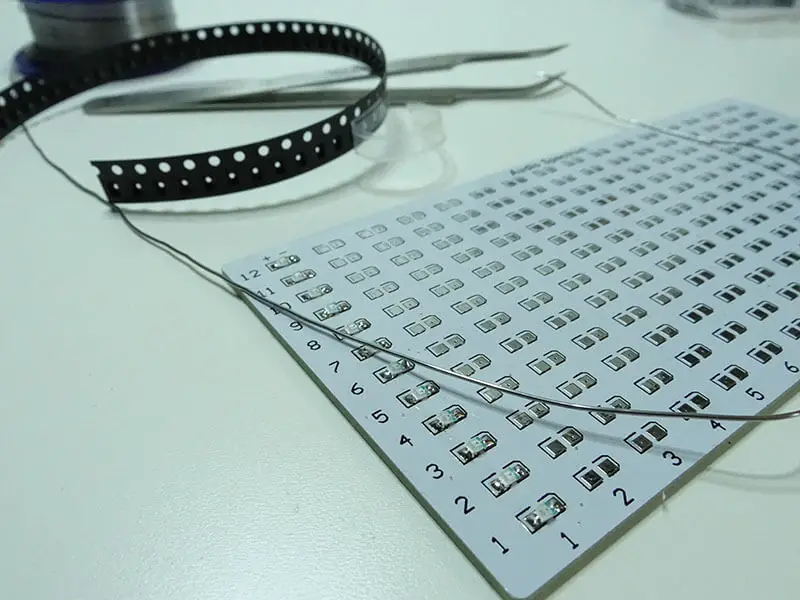
Step 1: Start by soldering all the LEDs to one side of the PCB. Remember that there are 50 pieces of different colored LEDs to be soldered. The task here is to solder LEDs with similar colors on one side or column of the PCB and do the same for the others. This will create a beautifully colored spectrum analyzer when you are done. When you have soldered a majority of the LEDs, your PCB should look like the image below. Do not be discouraged because soldering the 200 LEDs can be done within 30 to 45 minutes.
Step 2: Carefully solder in the microcontroller in the sector provided for it. When soldering the microcontroller, having some patience is important. This is because it could prove to be a more difficult task than soldering the LEDs.
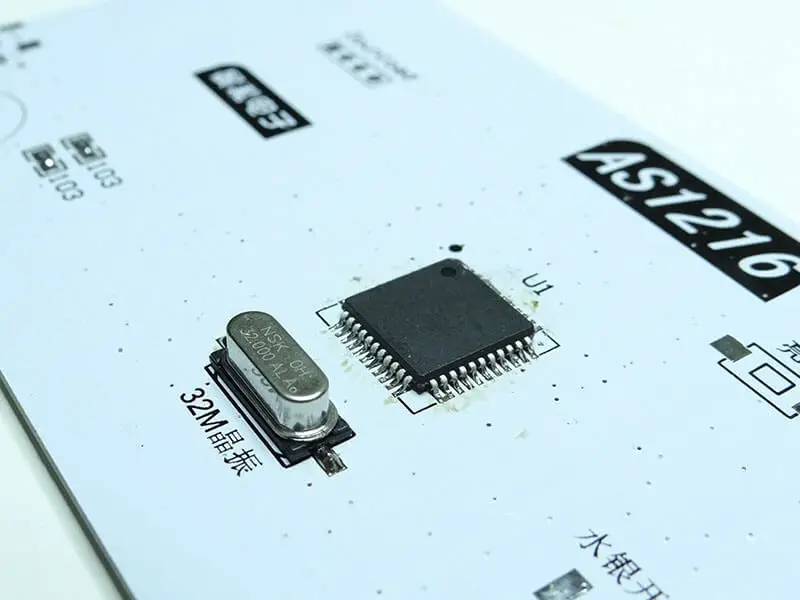
Step 3: Solder the crystal component right below the microcontroller as can be seen in the image below. Your experience with soldering the LEDs and the microcontroller should make this an easier task to accomplish.
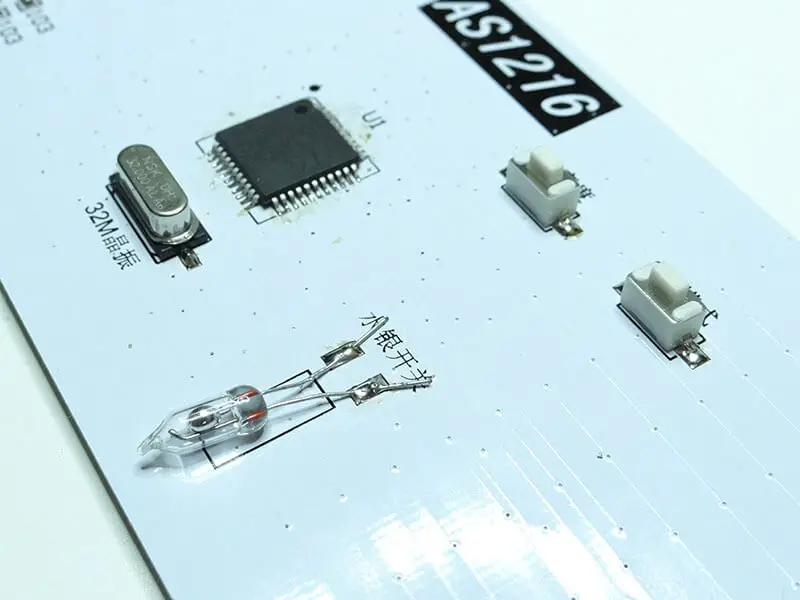
Step 4: Solder the two buttons as can be seen in the image for step 4. The soldering task for the buttons is fairly easy and you should be done with them in a couple of minutes. Ensure the buttons are soldered into the spaces designed for them.
Step 5: The tilt or movement sensor should be soldered in next. The space created for the sensor is below the two buttons and on the right of the microcontroller and crystal. This is one of the easy soldering tasks to execute and you should finish quickly.
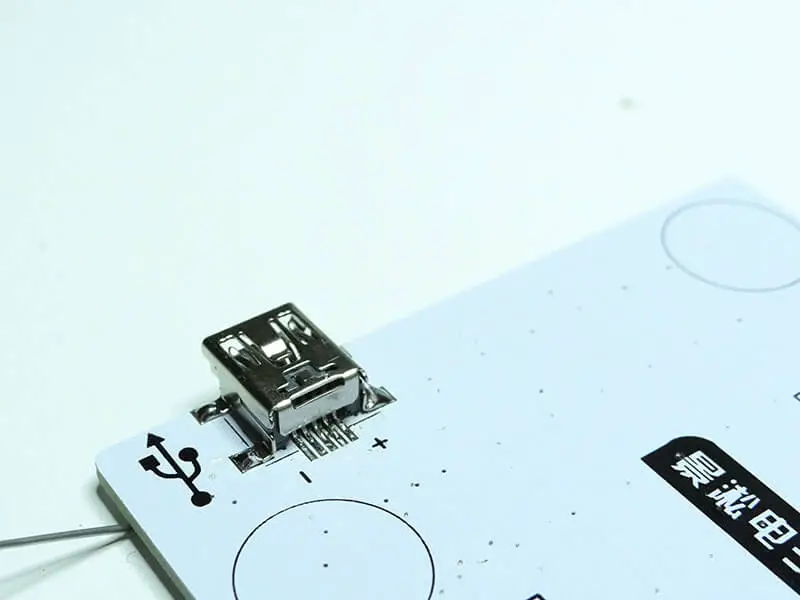
Step 6: Your power source is a USB socket. The USB socket should be soldered into place correctly. You must ensure that there are no shorts between the pads of the socket. You can use the image below as your guide.
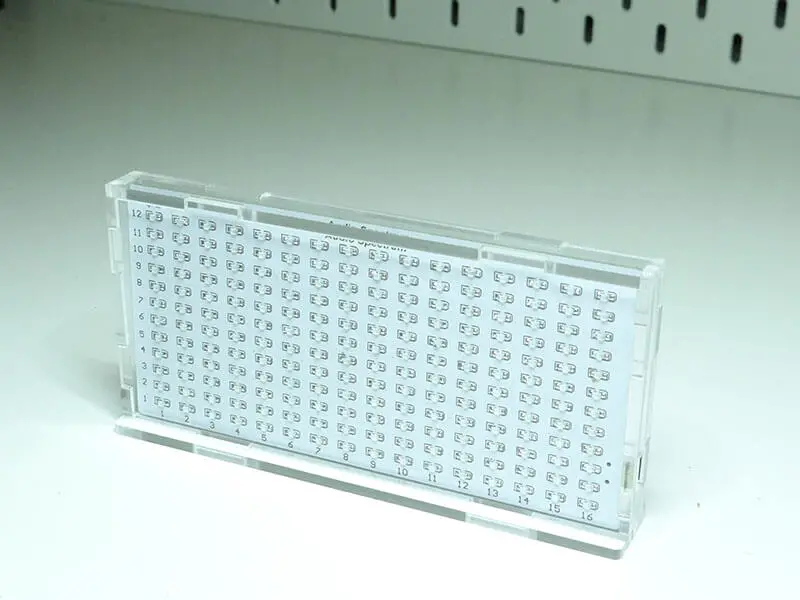
Step 7: Assemble the acrylic case using some glue and the instructions provided in the kit as a guide. This should be an easy task if you are good with your hands. Once you have completed this step, your acrylic case should look like what is in the image below.
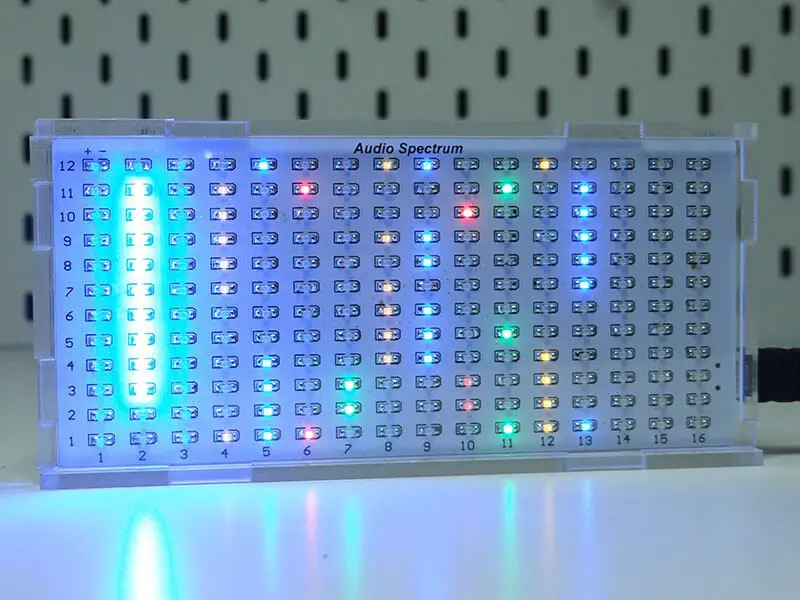
Step 8: Fit the designed spectrum analyzer PCB with all the soldered components into the acrylic case. You can now plug the USB cable into your device and connect the other end to a music playing device.
Step 9: Play your music and you will definitely find happiness in the dancing lights.
As you can see, the DIY spectrum analyzer kit can help you develop your own special music companion with ease. All you need to do is purchase the affordable kit and follow the instructions highlighted here then dance to the music.