
Have you ever wanted to generate hundreds of user accounts or publish thousands of posts to your blog without ever once logging into your WordPress dashboard? You can do that and so much more with WordPress Command Line Interface (WP-CLI).

What is a command-line interface (CLI)?
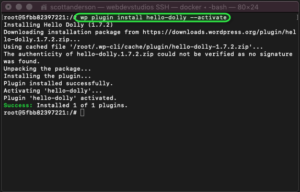
A CLI, put simply, is a way to interact with a computer program using commands in the form of successive lines of text instead of using a graphical interface. For example, to install the plugin Hello Dolly instead of going to your WP Dashboard > Plugins > Add New > Search “Hello Dolly” > Click Install > and finally Click Activate, you can simply run the command wp plugin install hello-dolly --activate and it does it all at once.
Our First Command
Now that we know what a WP-CLI command is, let’s get started with our first Hello World! To create your first command, use the command WP_CLI::add_command('IDENTIFIER', 'CLASS_NAME') where the identifier is what you’ll use in the CLI to call subcommands and class name being the class containing all your CLI commands.
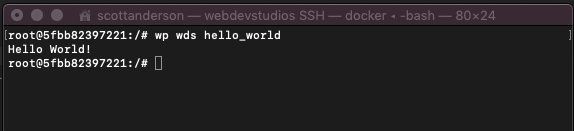
With our CLI registered, any public function declared in our class will be made accessible as a subcommand under our identifier. For the time being, we’ll simply use hello_world() and return the universal string to make sure our commands are registering. Finally, if we run wp wds hello_world we should have ‘Hello World’ returned.
View the code on Gist.
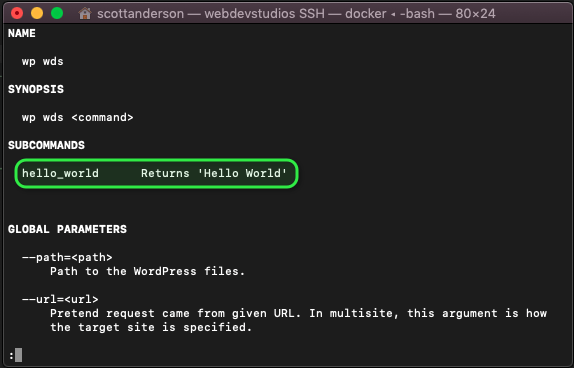
If we run the command wp wds --help we can see the subcommand we just registered.
Adding Arguments
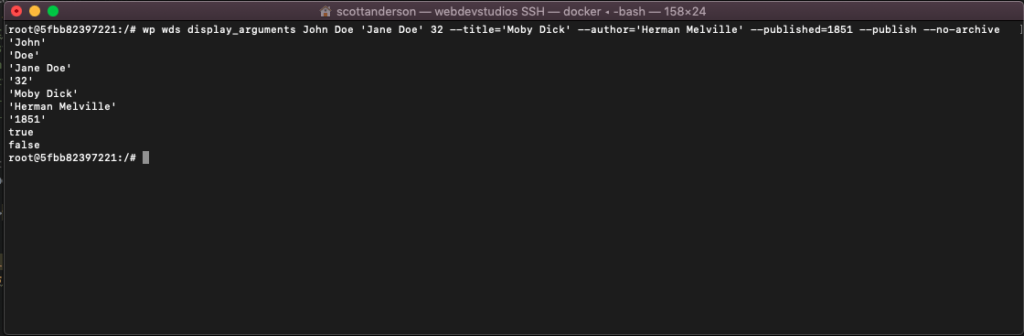
Now it’s time to spice things up. More than likely, you’ll want to pass variables to your CLI command; when in CLI, these are called arguments. In order for your command to support arguments, add the variables $args and $assoc_args to the function declaration. The $args array will contain all positional arguments (arguments that don’t have a flag on it — ). The $assoc_args contain all arguments declared with flags –key=value –option or –no-flag. The –key=value will use the key to access the value assigned to it $assoc_args[‘key’] . The –option will return true, if its flag is present $assoc_args[‘option’], and –no-flag will return the false for a given flag used in the key $assoc_args[‘flag’] . Let’s see all these arguments in practice by running wp wds display_arguments John Doe 'Jane Doe' 32 --title='Moby Dick' --author='Herman Melville' --published=1851 --publish --no-archive.
View the code on Gist.
Spicing Up Our Output
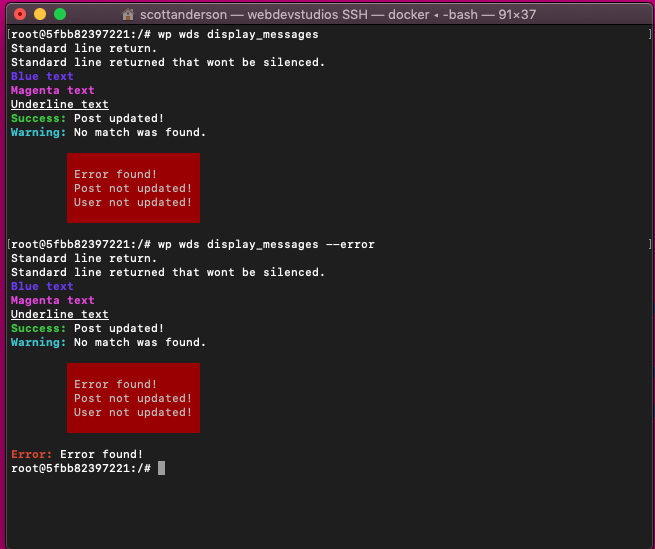
Up to now, we have only used WP_CLI::line to return data to the command line, which can be rather boring. For more message offerings in addition to line, we can use log, success, warning, error, error_multi_line, halt. When the flag –quiet is used, all messages, except those noted, will be silenced and not return a message. Let’s see these message types in practice by running wp wds display_messages.
Note: Colorize has multiple colors and output formats. For a full list, see the Colorize Codex.
View the code on Gist.
Loading, Loading, Loading…
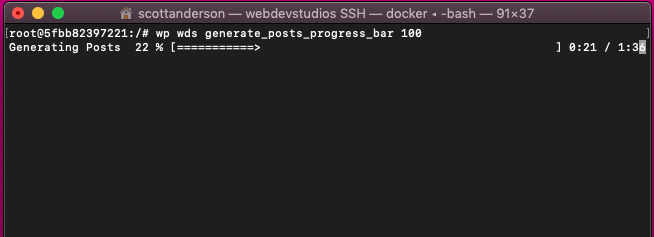
When you are making a lot of operations, instead of leaving the user guessing how far along a process might be, it would be helpful to provide a progress bar keeping track of changes. Luckily WP-CLI has a progress bar baked right in. To use the progress bar, simply declare it $progress = WP_CLIUtilsmake_progress_bar( $label, $count ) where $label is a message shown before the progress bar and $count is the total number of ticks that should be performed.
With your progress bar initialized, it is most common to use it in a conditional loop. Once a stage of your process is complete, you can call the $progress->tick() command to increment the progress bar. Finally, at the end of your loop, you may call $progress->finish() to complete the progress bar. Let’s see the progress bar in practice by running wp wds generate_posts_progress_bar 100.
View the code on Gist.
Putting It All Together
Up to this point, we have covered how to register commands, pass arguments, display information, and keep track of a task with a progress bar. Let’s round up with one final working example putting all of these elements together in one final command.
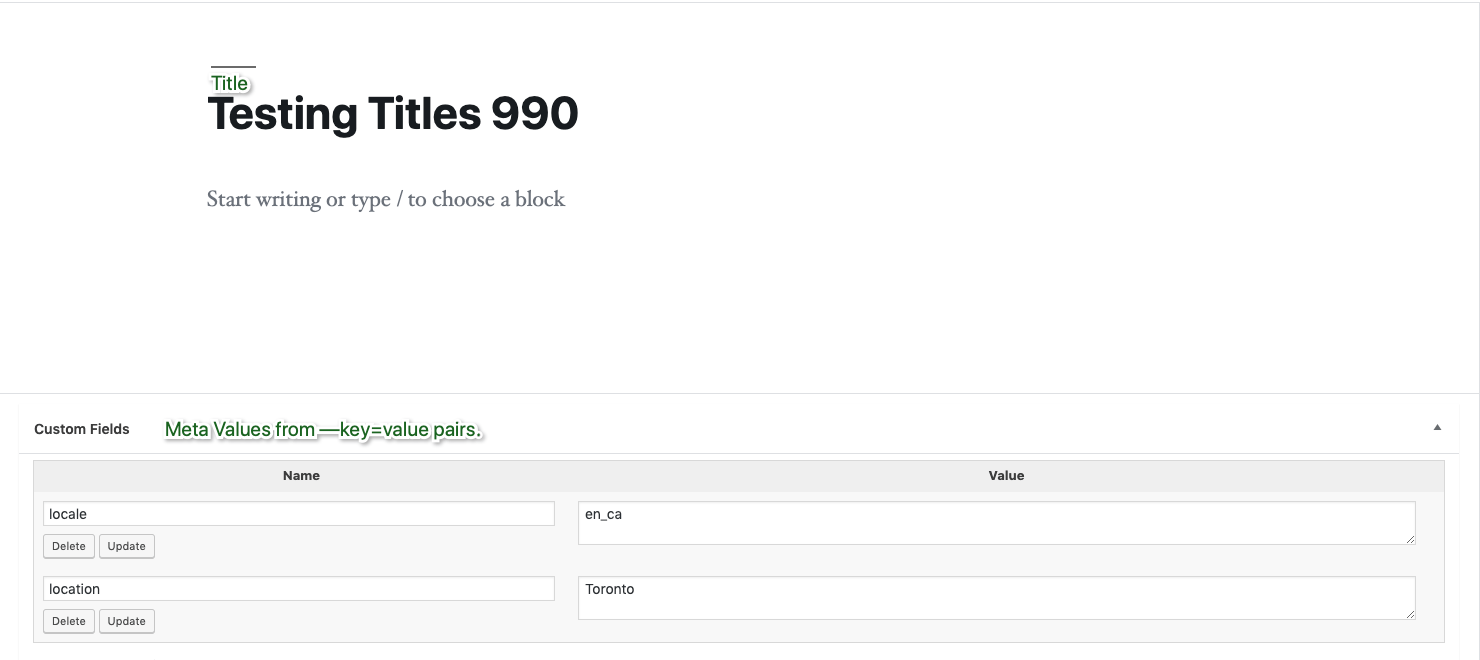
The following will generate posts where the first argument is how many posts to generate, second argument is title to be used in the posts generated, third argument is the ID of the author to associate it to, finally, any –key=value pairs will be stored as metadata for the post. We’ll wrap this with a progress bar to finish it up. We can generate 1000 posts with dummy metadata running the following command wp wds generate_posts 1000 'Testing Titles' 1 --locale="en_ca" --location="Toronto".

View the code on Gist.
Finale
That’s it. If you want to learn more, see the official WP-CLI documentation. If you want to see all the commands together, see the entire WP-CLI 101 Codefile.

The post Get Started Making Your Own WP-CLI Commands appeared first on WebDevStudios.