Many websites occasionally lose reporting from one of their marketing or analytics platforms. The culprit is usually the removal of tags during updates to the sites.
Tags are critical for ecommerce merchants. For example, Google Analytics has page tags and ecommerce tags. Google AdWords has conversion tags. Facebook has engagement and conversion tags. All of the tags are required to report website engagement.
And they add clutter to websites.
That’s the purpose of Google Tag Manager — to manage tags and contain them in a single JavaScript snippet on all pages. This avoids keeping up with what can be an avalanche of tags. It also minimizes the risk of losing those tags during redesigns and updates.
Google Tag Manager
Google Tag Manager enables entities to fire their JavaScript tags in one central location. GTM contains many vendor tags by default. These include native Google tags, such as in the screenshot below.
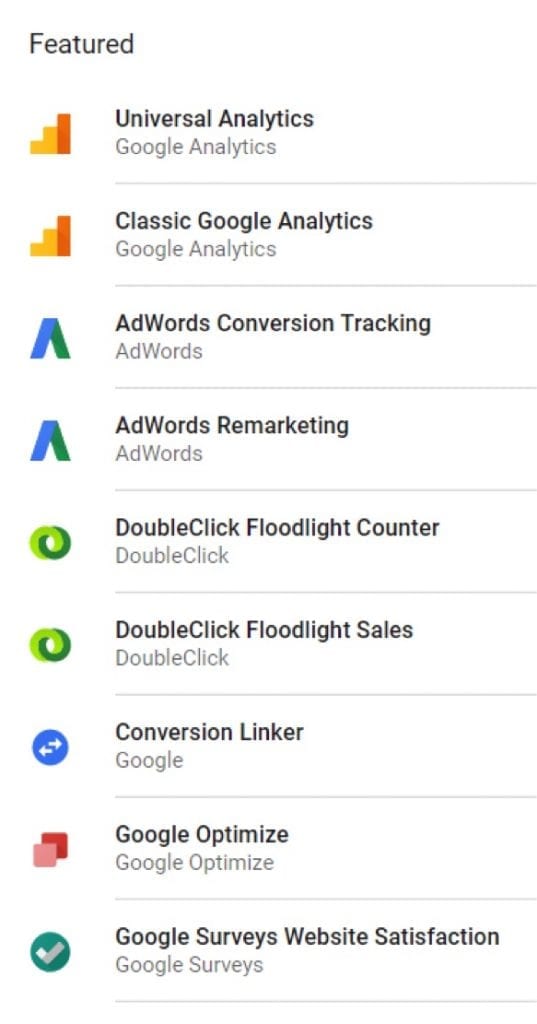
GTM contains many vendor tags, including Google properties.
—
It also includes many third-party tags.

GTM also contains many third-party tags, unrelated to Google.
Adding a Tag
As an example, I’ll explain how to replace your current Google Analytics tag so that it fires in GTM.
1. Ensure the GTM snippet is on all pages of the website. Find instructions in GTM by clicking on the container ID in the top-right, which starts with “GTM.”

For instructions on setting up GTM, go to the container ID in the top right, which starts with “GTM.”
—
The instructions will display after clicking on the container ID.
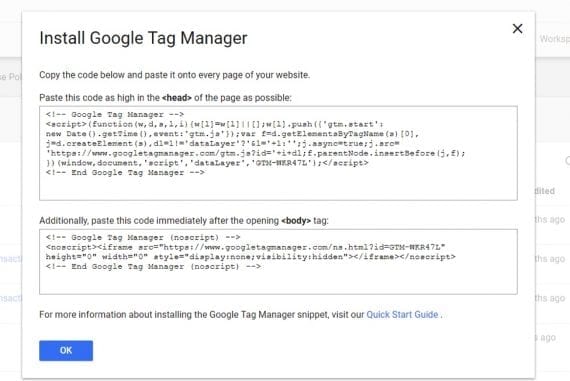
The instructions will display after clicking on the container ID.
—
2. Go to the “Variables” section on the left side of GTM.
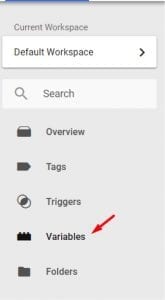
The “Variables” section in GTM.
—
Add the new variable to GTM by clicking User Defined Variables > New.

Add the new variable to GTM by clicking User Defined Variables > New.
—
Select “Google Analytics Settings” as the variable type and enter your Google Analytics property ID. Click “Enable Display Advertising features” if appropriate.
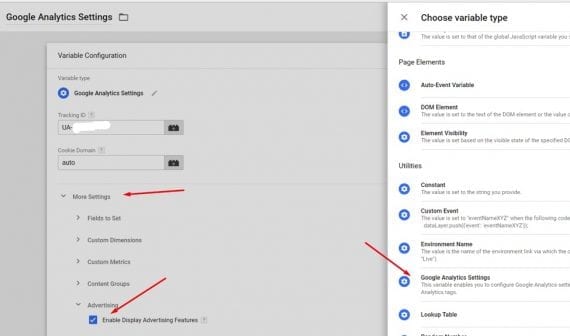
Select “Google Analytics Settings” as the variable type and enter your Google Analytics property ID. Click “Enable Display Advertising features” if appropriate.
You may have additional settings to add or configure as you add more tracking capabilities. I’ve not included more to keep this example simple.
3. Go to the “Tags” section on the left side of GTM.

The “Tags” section is on the left side of GTM.
—
Add the Google Analytics tag to GTM by clicking on “New.”

Add the Google Analytics tag to GTM by clicking on “New.”
—
- Name the tag “GA Page Tag” or whatever you wish.
- Select “Universal Analytics” as the tag type.
- Select “Page View” as the Track Type.
- Select “Google Analytics Settings”(or whatever you named it) as the settings variable.
- Under “Triggering” select “All Pages,” which means the tag will fire on all of the pages for which the GTM container is present.
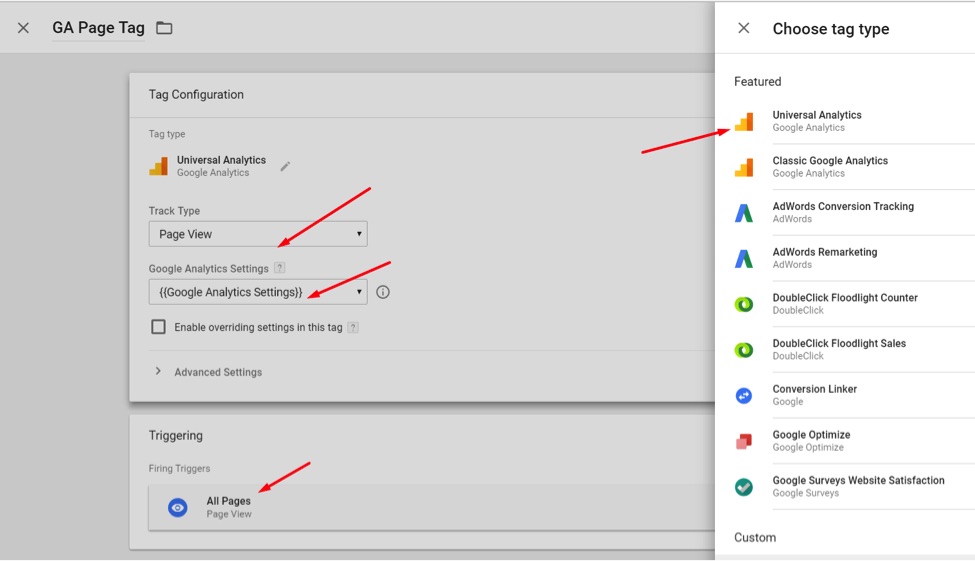
Configure Google Tag Manager for your Google Analytics’ account.
—
4. Publish your work by clicking on “Submit” in the top-right of the page.
5. Use Google Analytics Real-Time to confirm GTM is functioning. A quick glance at the Real-Time report in Google Analytics will show visits on your site, which confirms that GTM is firing your Universal Analytics Page View tag. You may want to click on many pages of your site and then go to Content reporting in Real-Time to make sure your activity is reporting.
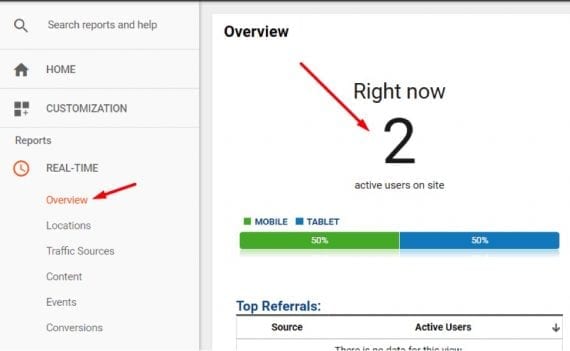
Use Google Analytics Real-Time to confirm GTM is functioning.
If you include page view tracking in Google Tag Manager, make sure that ecommerce tracking is not impacted. Some shopping cart platforms include ecommerce tracking in the page view tracking code. If in doubt, create a new property in Google Analytics to test fire the page view tracking in GTM.
Enhanced Analytics
GTM can enhance Google Analytics reporting beyond sessions, page views, and transactions. Consider these examples.
- Clicks on home page promotions. Identify which promotions get the most clicks and how well they drive conversions.
- Video plays. Use the built-in YouTube video tracking tags in GTM
- Reporting errors from submitting forms, such as logging in and newsletter signups.
- Reporting errors from checking out, such as credit card entry forms.
GTM Help
Using Google Tag Manager can involve a steep learning curve. But there are resources available to help. First, try Google’s documentation on Tag Manager via the help menu in the three-dot icon at the top right.
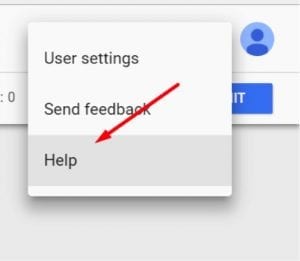
Google’s documentation on Tag Manager resides in the help menu in the three-dot icon at the top-right.
For more advanced GTM users, consult expert blogs, such as Simo Ahava. There are also many Google Analytics Partners that specialize in Tag Manager.