Larger ecommerce companies sometimes create multiple branded websites that feed into a single checkout. For those companies, tracking which site generated the business — revenue — can be tricky. In this post, I will provide a method for reporting the “source of business” metrics in Google Analytics.
1-800-Flowers
1-800-Flowers.com deployed multiple websites under one umbrella in 2009. The strategy is still in place 10 years later. One can observe it when going to 1800Flowers.com and seeing the various brands at the top of each page.
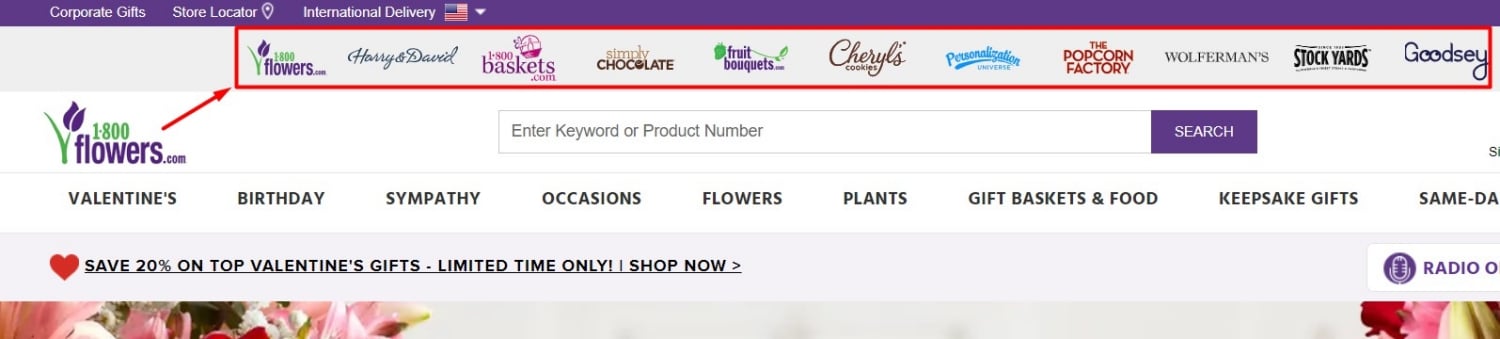
1-800-Flowers.com was one of the original merchants to incorporate multiple websites under one umbrella website in 2009. Click image to enlarge.
Shoppers remain in the domain they first landed even if they click to other brands. This presumably provides a unified shopping experience through checkout.
But it is not typical. Most merchants with multiple domains use for a checkout either one of their main branded domains or another non-branded URL.

A merchant with three websites — “a.com,” “b.com,” “c.com” —can funnel all into a single checkout on “d.com.”
Measuring
To report “source of business” in Google Analytics, create a custom dimension, then assign a value to that variable. To start, create the custom dimension at Admin > Properties > Custom Definitions > Custom Dimensions.
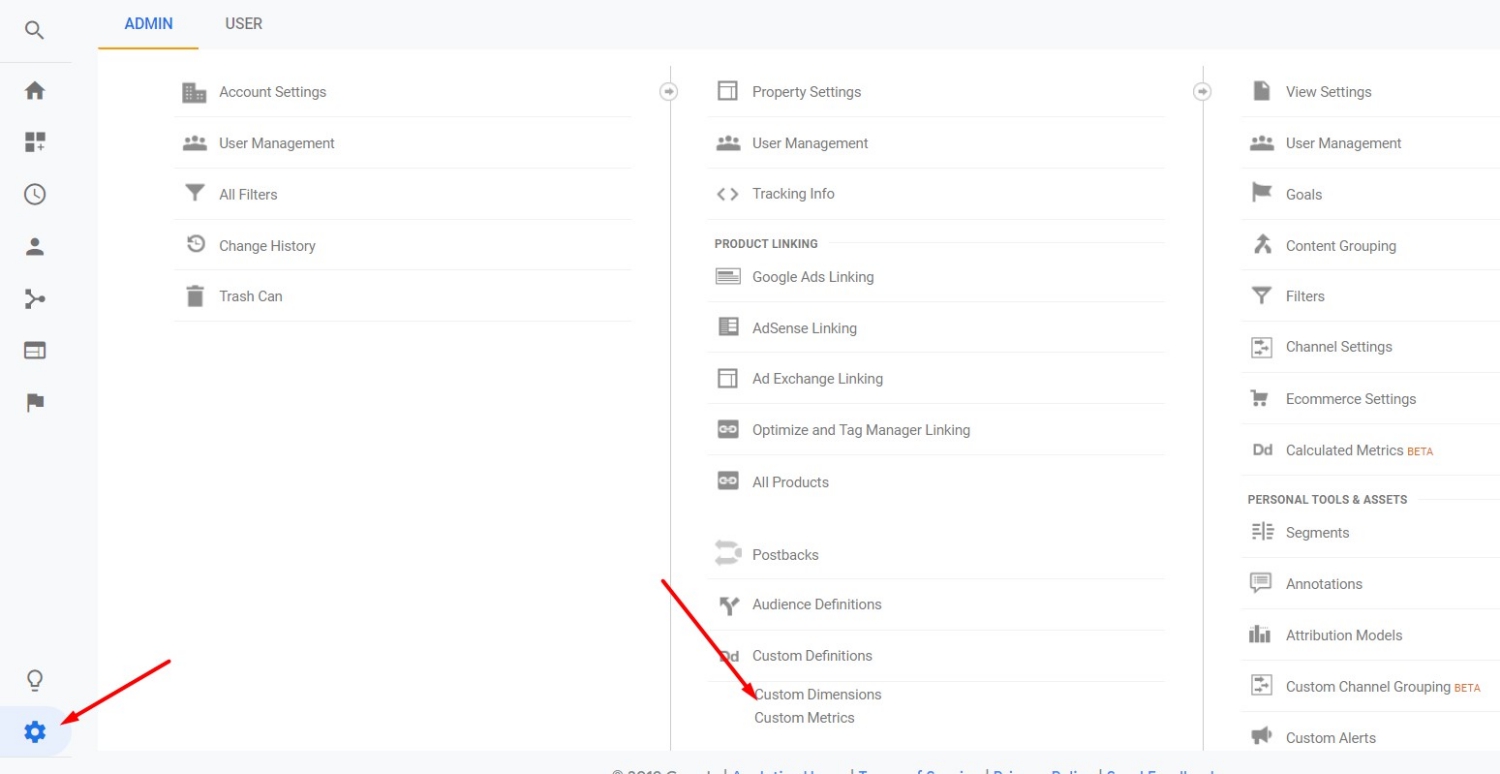
Create the custom dimension at Admin > Properties > Custom Definitions > Custom Dimensions. Click image to enlarge.
—
Then click “New Custom Dimension.”
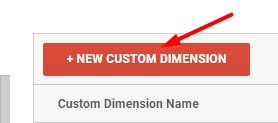
Click “New Custom Dimension.”
—
Give it a name, such as “Source of Business.” Set the scope to “Session” and click “Create.”
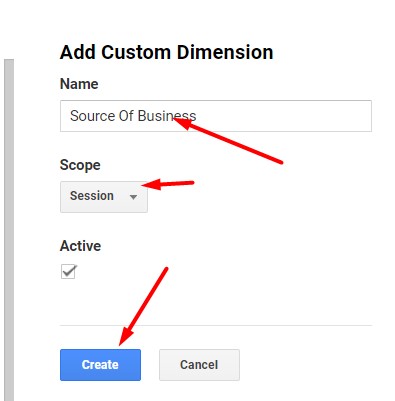
Assign a name, such as “Source of Business.” Set the scope to “Session” and click “Create.”
The custom dimension is now created, ready for information. Setting the scope to “Session” allows the reporting of the entire shopping session with the “Source of Business” value when someone lands on the site. A “Hit” Scope is not advisable, as it would require the variable to be set with every interaction on the site, which is tricky. A “User” Scope would make sense if you want to report the present session and all future sessions with a single value.
Adding information to the “source of business” custom dimension requires a cookie, which is why I suggest using Google Tag Manager. Otherwise, skip to the “Shortcut” section, below, for a workaround.
Google Tag Manager
In Google Tag Manager, set up the following variables.
Variable 1.
- Name: Landing Hostname
- Variable Type: URL
- Component Type: Host Name
Variable 2.
- Name: LandingHostname
- Variable Type: Custom JavaScript [below]
function() {
var landingHostname = {{Landing Hostname}};
if(landingHostname) {
return landingHostname;
} else {
return "landing hostname unknown";
}
}
—
Also, set up the following triggers in Google Tag Manager.
Trigger 1.
- Name: doneWith_setLandingHostnameCookie
- Trigger Type: Custom Event
- Event Name: doneWith_setLandingHostnameCookie

The setup for a custom events trigger.
Trigger 2.
- Page View: DOM Ready
- Trigger Type: Page View – DOM Ready
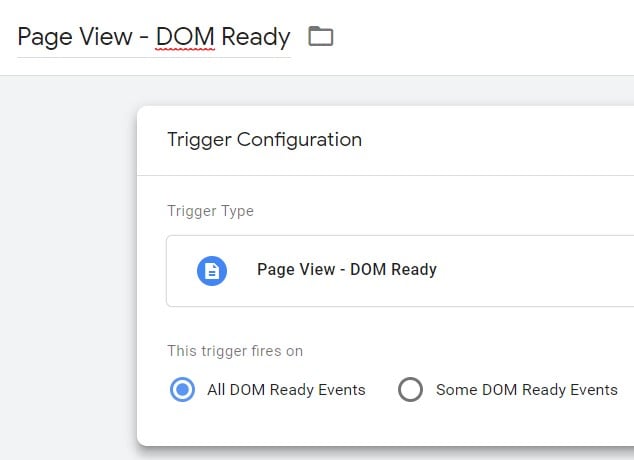
Setup for Page View — DOM Ready.
—
Set up the following tags.
Tag 1.
- Name: landingHostname
- Tag type: Custom HTML
- Tag contents: [The following tag, below, sets a cookie that lasts the duration of a session. It comes from my company’s collection of GTM tags and can be configured to last a certain amount of time. Disregard that code as needed.]
// CustomHTML - only trigger on "url query clickid" is not null

      function createCookie(name,value,days) {
        if (days) { // If not provided, it will be a session cookie.
          var date = new Date();
          date.setTime(date.getTime()+(days*30*60*1000)); // 30mins in milliseconds
          var expires = "; expires="+date.toGMTString();
        }
        else var expires = "";
        document.cookie = name+"="+value+expires+"; path=/";
      }

      function readCookie(name) {
        var nameEQ = name + "=";
        var ca = document.cookie.split(';');
        for(var i=0;i < ca.length;i++) {
          var c = ca[i];
          while (c.charAt(0)==' ') c = c.substring(1,c.length);
          if (c.indexOf(nameEQ) == 0) return c.substring(nameEQ.length,c.length);
        }
        return null;
      }

      if (!readCookie('landingHostname')) {
        createCookie('landingHostname', '{{landingHostname}}', 1);
      }

   window.dataLayer = window.dataLayer || [];
   dataLayer.push({"event": "doneWith_setLandingHostnameCookie"});
Note that the tag, above, needs to fire before your page tracking code. The following screenshot shows how I set this up in a GTM container.

Set up this cookie-setting tag before the page tracking code.
Set up a trigger to fire on every “Page View – DOM Ready.”
Set up a trigger to fire on every “Page View – DOM Ready.”
—
Tag 2.
- Name: GA Landing Hostname Event
- Tag Type: Google Analytics – Universal Analytics
- Track Type: Event
- Category: Landing Page Hostname
- Action: Set
- Label: {{landingHostname}}
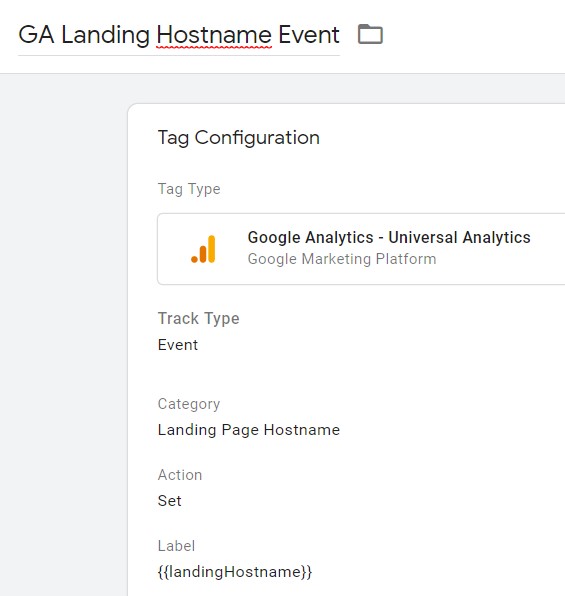
Landing Page Hostname tag configuration.
—
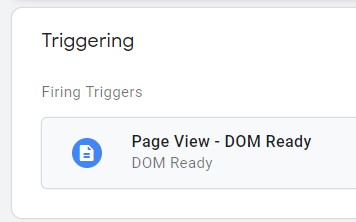
Then in this tag’s settings, or in your Google Analytics settings (if you set up a variable for those), set the custom dimension’s index and value. The index is based on the index you used to create the custom dimension. The value would be {{landingHostname}}.
The triggering will be what you created at “doneWith_setLandingHostnameCookie.”
Publish your work in Google Tag Manager and you should start reporting data.
Reporting
Reproduce the following custom report in Google Analytics to generate “sessions,” “transactions,” and “ecommerce conversion rate by source of business.”
Dimensions
- Source Of Business [or whatever name you gave for the custom dimension]
Metrics
- Sessions
- Transactions
- Ecommerce conversion rate
- Any other metrics you choose to include

Generate a custom report for sessions, transactions, and ecommerce conversion rate by source of business. Click image to enlarge.
—
The output will look like the following. (I blocked out the actual source of business to protect the client’s identity.)
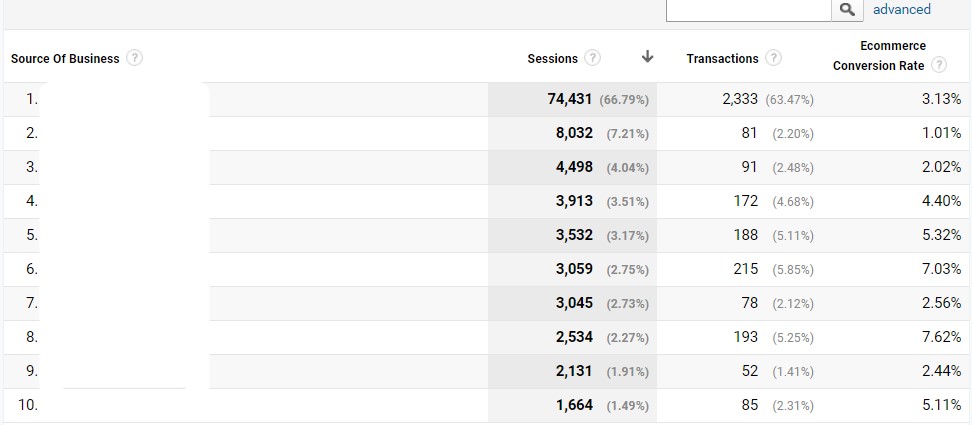
Your output should include Sessions, Transactions and Ecommerce Conversion Rates. Click image to enlarge.
Shortcut
A shortcut that may work if you do not use GTM is to go to the Behavior > Site Content > Landing Pages report. Then use “Hostname” as your primary dimension and “Landing Page” as the secondary.
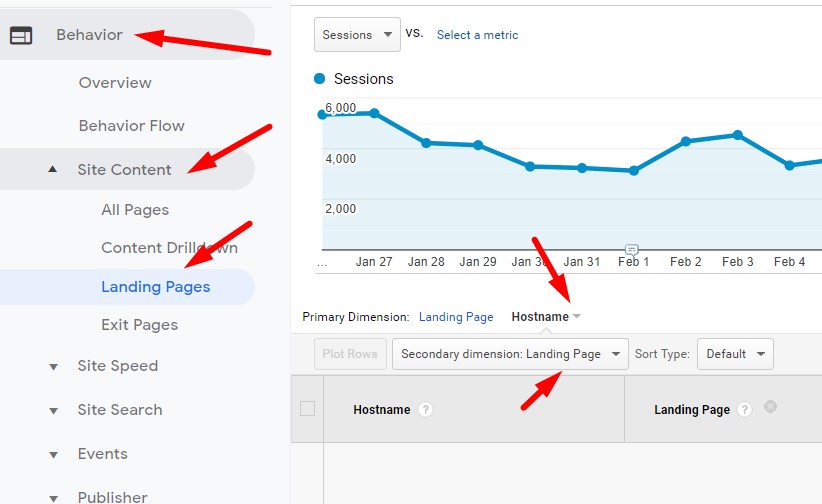
A shortcut that may work as your primary and secondary dimension. Click image to enlarge.
Then, report by “Ecommerce,” which is near the top of the report. This will show a table of data, which can be exported to a CSV file or Google Sheets. Then create a pivot table in Excel to report data by Hostname.