
Have you seen that icon in the search results in front of your website’s URL? It’s visible for most people in mobile results now. So, no excuses, your site needs a good favicon. Luckily, setting a favicon in WordPress is very easy. Here we’ll explain how to change the favicon of your WordPress site!

We’ve been writing about favicons for years. This article about favicons and branding will tell you what you need to think about in that regard. Read it, and make sure your favicon is good and stands out.
Spoiler alert! Next week, when Yoast SEO 12.1 is out, you’ll be able to see your favicon in Yoast SEO’s mobile snippet preview too, so stay tuned for our next release!
Now let’s give you a simple step-by-step guide on how to change your favicon in WordPress:
Time needed: 5 minutes.
The favicon is called a site icon in WordPress and can be added in the customize theme section.
- Log in to your WordPress website.
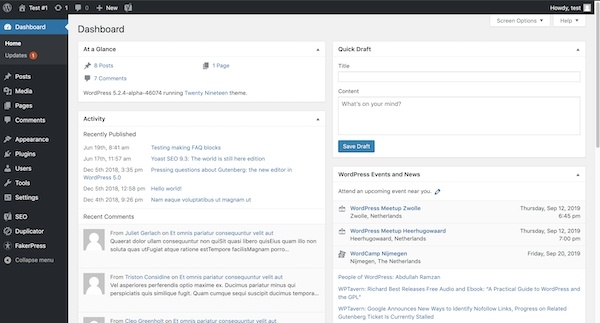
When you’re logged in, you’ll be in your ‘Dashboard’:

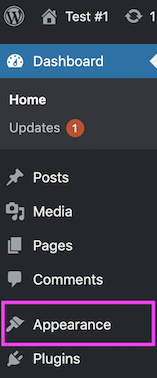
- Click on ‘Appearance’.
On the left-hand side, you’ll see a menu. In that menu, click on ‘Appearance’.
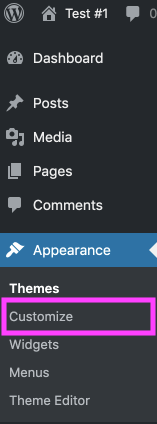
- Click on ‘Customize’.
The ‘Appearance’ settings will expand providing you additional options. Click on ‘Customize’.
- Click on ‘Site Identity’.
Here you can define your site name, tagline, logo, and icon. The image you set under “Site Icon” will be used as your site’s favicon:
That was easy, wasn’t it? So, no more excuses, get to it. Change that favicon on your WordPress site!
Read more: Favicons and your online brand »
The post How to change your favicon in WordPress: a step-by-step guide appeared first on Yoast.