In this tutorial, we’ll guide you through the process of installing TWRP on the Lenovo Z6. If you wish you can stop after installing the TWRP recovery. However, if you wish otherwise, you can proceed with the process to root Lenovo Z6 as well. All necessary downloads have been linked below as well as any necessary requirements that you must fulfill.
Warning
If you root your Lenovo Z6 it will void your warranty. Besides, flashing a custom recovery and using it to flash third-party mods can be risky. You may end up bricking your device. Even if you follow all the steps mentioned below correctly, there is still a chance that things may go south for you. Make sure you know what you’re doing and do everything at your own risk. DroidViews or anyone else cannot be held responsible under such circumstances.
The process of rooting itself neither requires you to format your device nor it should be formatted automatically. Still, make sure you have backed up everything important, including files and folders on your device’s internal storage. Creating a backup is never a bad idea. If you haven’t unlocked the bootloader yet tough, your device will be wiped clean, including the internal storage, when you do unlock it.
Requirements
Before you can root Lenovo Z6, please make sure to meet.
- A Lenovo Z6 with an unlocked bootloader.
- You’ll need a Windows, Mac or Linux computer with Android SDK Platform-tools. We do have a dedicated, detailed guide on how to do just that for all the three platforms, linked below.
- Download Android SDK Platform Tools for Windows, Mac & Linux
- Extract the downloaded zip file anywhere on your PC.
- The extracted platform-tools folder contains all the necessary tools required to run ADB and Fastboot.
- Since you’ll need to connect your phone to your PC with a USB cable, be certain that the cable isn’t loose.
- Enable USB debugging and OEM unlock on your device, found in Developer options.
- Go to Settings > About phone.
- Tap on Build number 7 times.
- You’ll see a toast message that says, “You’re a developer.”
- Go back to Settings now, and you’ll find a new option called “Developer Options”, select it.
- Scroll down and find out OEM Unlocking and USB Debugging and enable it. OEM Unlocking should already be enabled or grayed out if you’ve unlocked your bootloader.
- Ensure that your Lenovo Z6 has at least 50% battery left so as to prevent any accidental shutdowns.
- Windows users will need to install Lenovo USB drivers as well.
Downloads
Install TWRP on Lenovo Z6
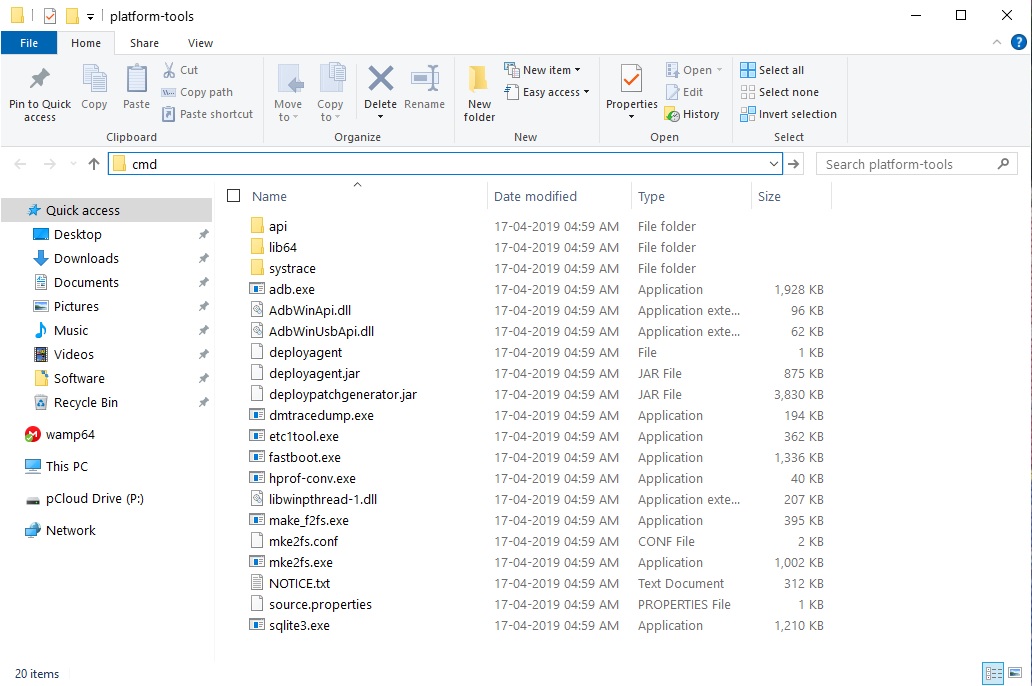
- Open the platform-tools folder.
- On Windows, go to the platform-tools folder and enter cmd in the address bar.


- Connect your Lenovo Z6 to your PC.
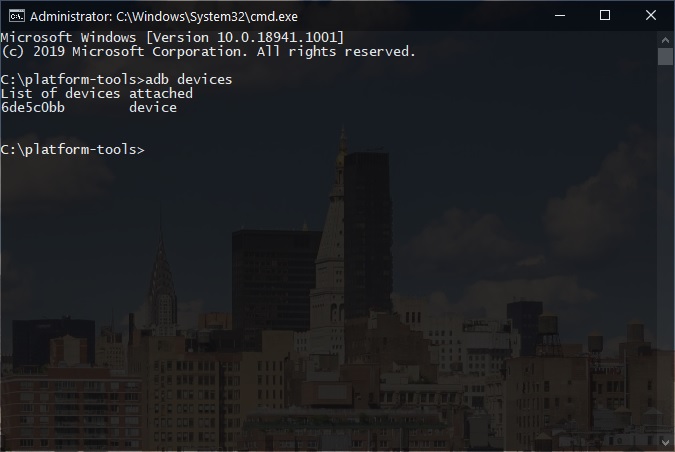
- On your phone, you may be asked to grant USB Debugging permission to the PC. If it doesn’t come up yet, you can trigger it manually by entering the command below in the terminal or command prompt.
adb devices
- If everything went right, the above command will return your device’s serial number.

- On your phone, you may be asked to grant USB Debugging permission to the PC. If it doesn’t come up yet, you can trigger it manually by entering the command below in the terminal or command prompt.
- Now reboot your device to fastboot mode by entering the command below.
adb reboot bootloader
- Once in fastboot mode, flash the vbmeta image using the command below.
fastboot --disable-verity --disable-verification flash vbmeta vbmeta.img
- Reboot to bootloader once again with the same command as before.
adb reboot bootloader
- Next, flash the twrp image on the Lenovo Z6 by entering the following command.
fastboot flash recovery twrp_3.3.1_decrypt_works_by_alexeei.img
- Once the recovery is flashed, you can reboot your device with this command.
fastboot reboot
Note: If you want to proceed with rooting your device, skip step 8. Simply press the volume button to select Reboot recovery and press the power button to reboot to directly boot to recovery mode. Since you’re already in recovery, skip the steps 1-3 mentioned below as well.
Root Lenovo Z6
- With your device turned on, connect it to your PC.
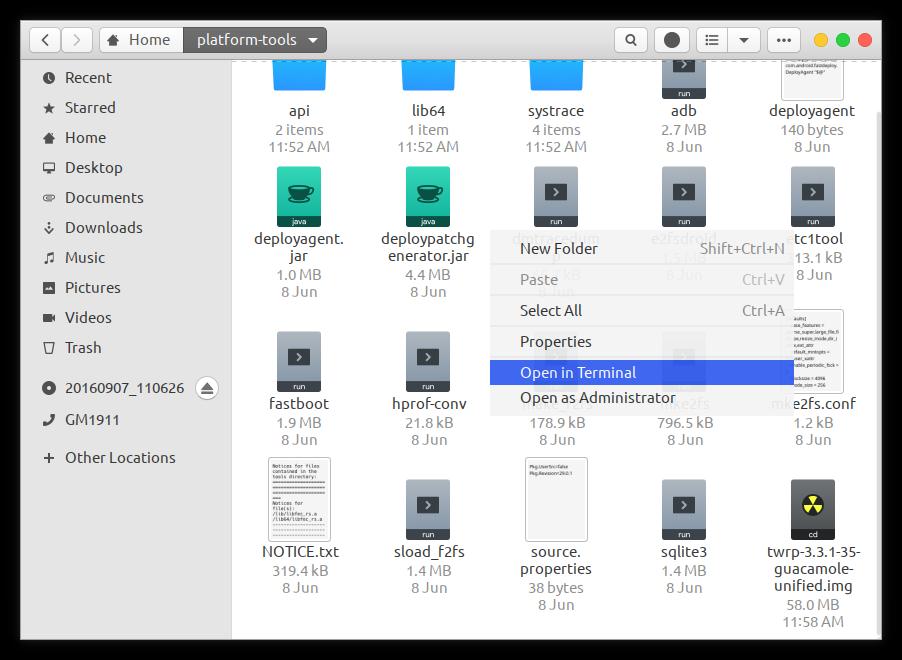
- Launch a command prompt or Terminal window inside the platform-tools folder.
- On Windows, go to the platform-tools folder and enter cmd in the address bar.
- On Mac and Linux, you can simply right-click inside the folder and select Open in Terminal to launch a Terminal window and start using ADB.
- Use the command below to reboot your device into recovery mode.
adb reboot recovery
- Once in TWRP recovery, you can flash Magisk and root your device. But it is wise to first take a full NANDroid backup of your device, just in case you may want to revert your device back to a working state.
- To do this, go to Backup and select all the partitions. Swipe at the bottom to begin the backup process.
- To root Lenovo Z6, select Install from the TWRP main menu.
- Navigate to and select the downloaded Magisk file and select it.
- Swipe at the bottom to flash the zip.
- When it is done, you will see a Reboot system button at the bottom, tap on it and your device will reboot.