Whether or not you’re interested in staying in Google’s good graces (you should, as search traffic is still remarkably valuable), you should be doing your best to provide a great user experience for people visiting your website. Great content is undoubtedly important, but there’s so much more than goes into the user experience, like intuitive navigation, a mobile-friendly design, and ads that don’t overwhelm the main content. And another huge part of that has to do with page loading speeds. The faster your pages load, the better.
Now, while there are certainly all sorts of factors that go into how fast your pages can load, the size of your images can make a huge difference. I’m not talking about the physical size in pixels, necessarily, as much as I’m talking about file sizes. The difference between 100 KB and 5 MB on the local drive on your computer might not make that much of a difference, but it means a world of difference when serving images on the web. So, how can you compress your images AND keep them relatively high quality?
Use an Online Tool
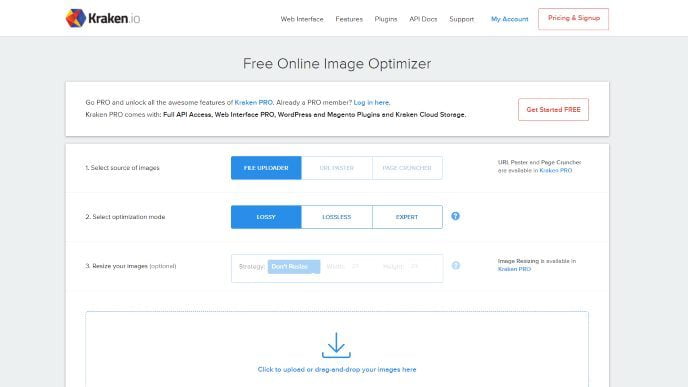
One of the more convenient options is to look up a free online tool that’s designed for compressing images. For instance, while there is a pro version with more features, the web interface of Kraken.io is really easy to use. Just upload your images, select the level of optimization, and away you go. You’ll need the pro version of image resizing or to select images by URL, but even the free version lets you import from Dropbox or Google Drive.

At its most aggressive, the “lossy” level of optimization will get you “at least 60%” savings compared to the original file, “with savings of 80% to 90% occurring frequently,” all while retaining “outstanding quality.” That’s pretty impressive.
Some other options include Compress JPEG and TinyPNG for JPEG and PNG files, respectively. With the latter, which also supports JPEG files, you’ll get to retain transparency characteristics too.
Use a WordPress Plugin
Those online tools can be really useful for compressing images, but they also add another step to your usual workflow. After all, even though the tools are automatic, you are still going through the manual process of uploading images, waiting for them to get compressed, and then downloading the compressed results. If you’d prefer something even more automatic, you might think about getting a WordPress plugin to handle it all for you.

One of the most popular options in this space is Smush Image Compression and Optimization by WPMU DEV. They claim that this plugin can provide lossless compression, so there’s no affect on image quality. The plugin also supports a lazy loader function, so loading offscreen images are deferred until they’re needed, as well as image resizing, automated optimization, and Gutenberg block integration.
If you’d like to go beyond just image optimization, there are plugins like Autoptimize by Frank Foossens. The objective here is more about optimizing your site as a whole, like minifying scripes and HTML, but it’ll also lazy-load images and optionally convert them to faster, more web-friendly WebP formats too.
Use Image Editing Software
If you’re already using something like Lightroom and PhotoShop, then you’re probably inclined to keep using that software for most of your image editing needs. And understandably so. On the other hand, if you’d rather not incur that expense (or you just want the free alternative), there’s free image editing software you can use to shrink down those file sizes too.

Two of the top options in this space are Paint.NET and GIMP (GNU Image Manipulation Program), both with their respective strengths and weaknesses, and both going well beyond what Microsoft Paint is capable of doing. Choosing the level of JPEG compression usually comes along when you save a file. And yes, both are completely free to download and use to your heart’s content.
Use Microsoft Office
Easily the least conventional option on this list, it is indeed possible to compress an image in Microsoft Office. Built into the Office suite is a tool called the Microsoft Picture Manager, which you can use to “reduce both file size and picture dimensions based on how you intend to use the picture.”
It’s really straightforward. All you have to do is pick the pictures you want to compress, click the “Picture Tools Format” tab, and select “Compress Pictures.” You can then find the Web option under “Resolution” and click OK to complete the process. If you’re already using Microsoft Word to draft up blog posts, you might consider this option as part of your regular blogging workflow too.